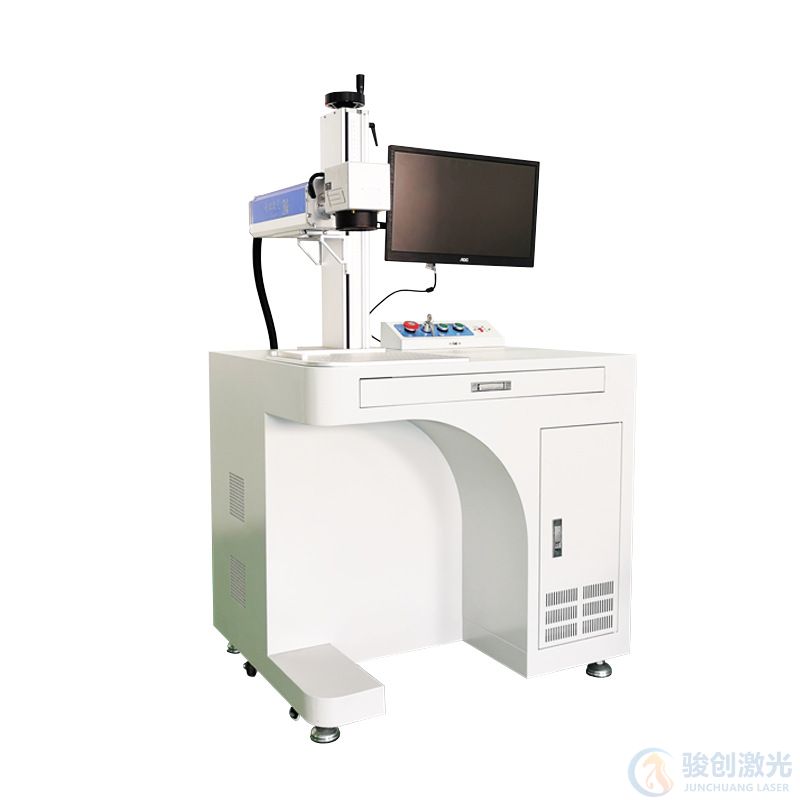
Let's take a look at the operating specifications of the laser marking machine :

Startup Specifications:
1. How to start the laser marking machine:
①. Check the power cord of the marking machine to make sure it is connected correctly and reliably;
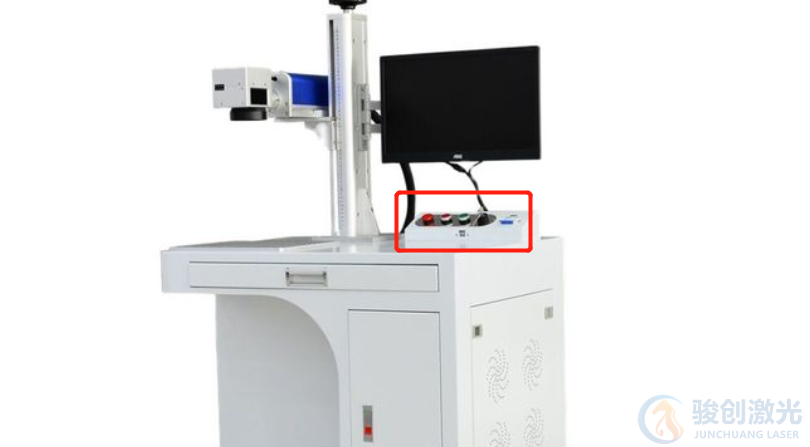
②. Turn on the air switch. Make sure the laser head emergency stop switch is in the pressed state. Pressing it means power off.
③. Turn on the power switch of the computer monitor and computer host;

④. Press the red emergency switch to start the power. The pop-up means the machine is turned on. Press the laser, galvanometer, and control card switches in sequence to turn on the laser head power. The laser head will start up after about 1 minute.
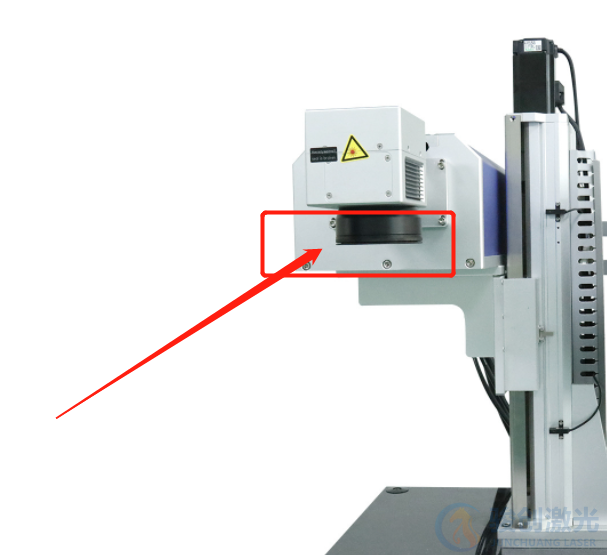
⑤. Remove the lens cover; At this point, the laser marking machine is turned on and can accept the operator's commands for marking operations.
2. How to operate the marking software:
①. Double-click the marking program icon to enter the program;
②. Select the marking file, double-click the date and time in the content to modify it, click Confirm, and the modification is completed;
3. Marking test and marking position:

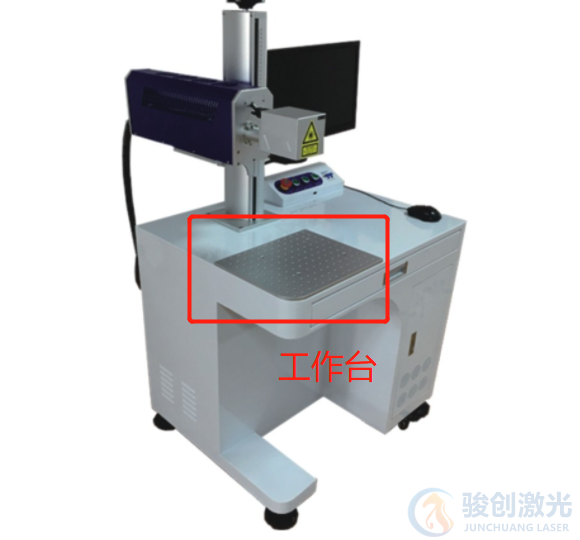
1. Place a test piece with the same height as the workpiece to be marked on the workbench or production line (it is best to choose the workpiece to be marked as the test piece), and confirm that the test piece is indeed placed steadily;
2. Marking can be performed by operating the marking control software. To achieve the best marking effect, the following adjustments can be made:
1. Adjust the focal length by adjusting the optical head lifting device;

2. Adjust the power, marking speed and other parameters in the marking software;
3. Enter the software, double-click the print date, and drag the mouse up and down to adjust the print position to the appropriate position.
3. After completing the above steps, you can perform a print test.
4. After the test is correct, re-mark the workpiece.
4. How to shut down the laser marking machine:
1. Press the red emergency stop switch to cut off the power supply of the laser head;
2. After confirming that the industrial computer is not running any software, exit and shut down normally;
3. Turn the key switch 90 degrees counterclockwise to the "off" position to turn off the main power of the marking machine, and the power indicator light goes out;
4. Remove the key and have someone keep it for next use;
5. Put on the lens cap.
The above are the operating specifications of the laser marking machine. When using the laser marking machine, be sure to install the above steps.


